Image
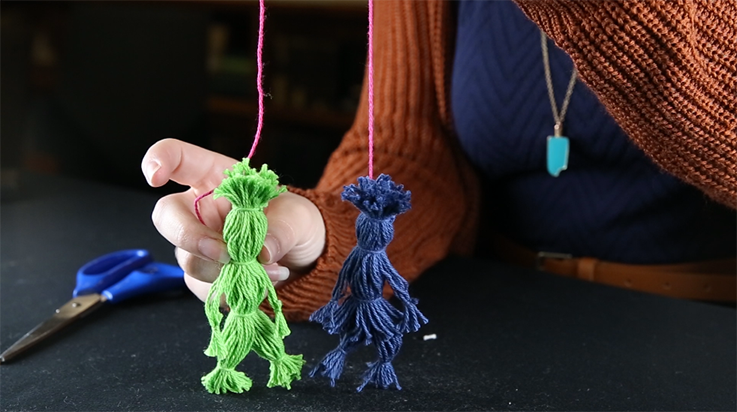
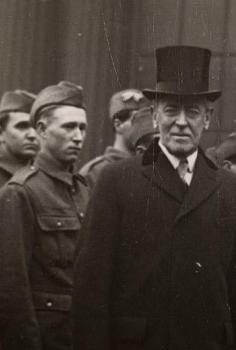
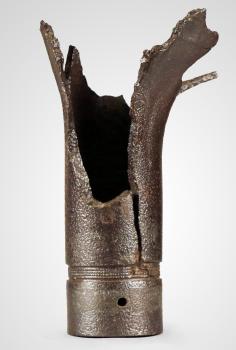
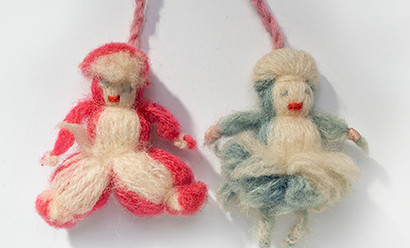
Nenette and Rintintin were woolen dolls often made by French children or servicemembers’ French sweethearts. Many sailors, soldiers, volunteers and especially pilots believed the dolls became lucky when the person who made the dolls gave them as a gift. The dolls' influence quickly spread from Paris as U.S. soldiers brought many with them when they returned home. One U.S. servicemember even named his rescue dogs after the dolls, one of which went on to become a famous canine film star.
To learn more about Nenette and Rintintin and to see real ones from the Museum and Memorial Collection, visit the online exhibition Charmed Soldiers
Image
To learn how to make your own, watch this video or follow these written instructions. They are simple to make and customizable!
[Video tutorial forthcoming]
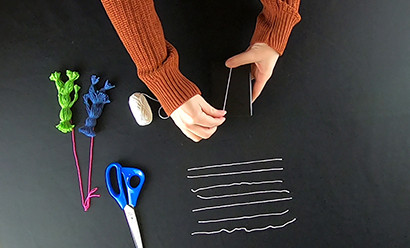
Make: Create handmade Nenette and Rintintin dolls to give as a gift to someone who could use a little good luck!
Required supplies:
- 3-inch piece of cardboard or similar sturdy, flat surface
- Scissors
- Yarn or embroidery thread of any color
Optional supplies for a face and carrying string:
- Markers
- Glue
- Other colors of yarn or string
- Googly eyes
- Take the preferred color of yarn and wrap it around the 3-inch piece of cardboard 50 times. Then cut from the yarn ball.
Image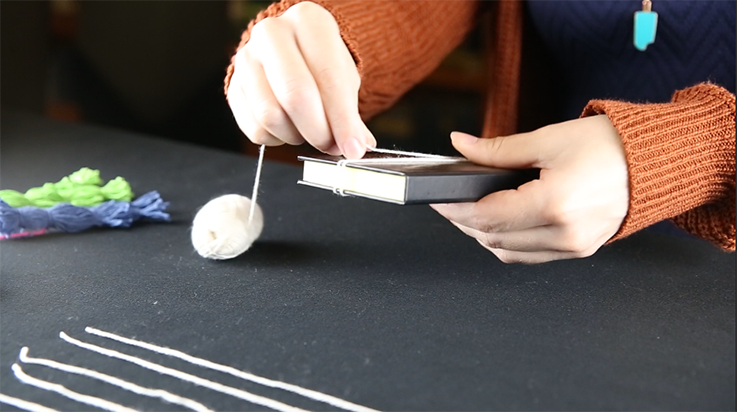
- From the yarn ball, cut 7 pieces of yarn about 5 inches long each. Longer pieces are easier to work with. Any excess can be trimmed later.
Image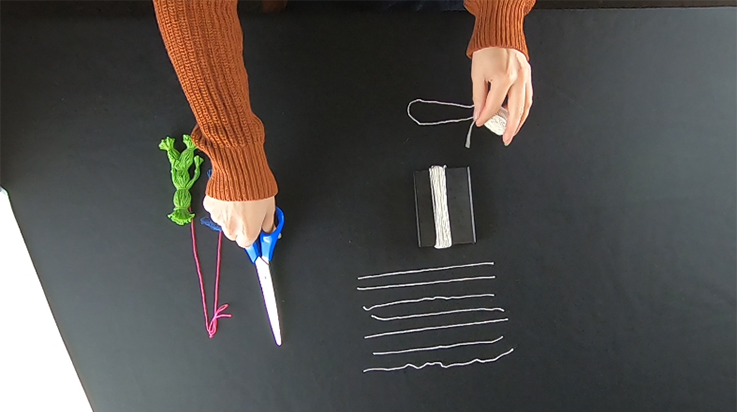
- Gently remove the wrapped yarn off the cardboard. Be careful to keep its shape.
Image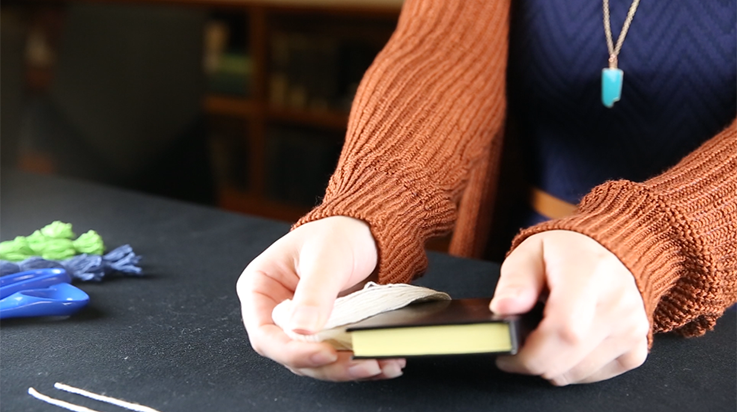 Image
Image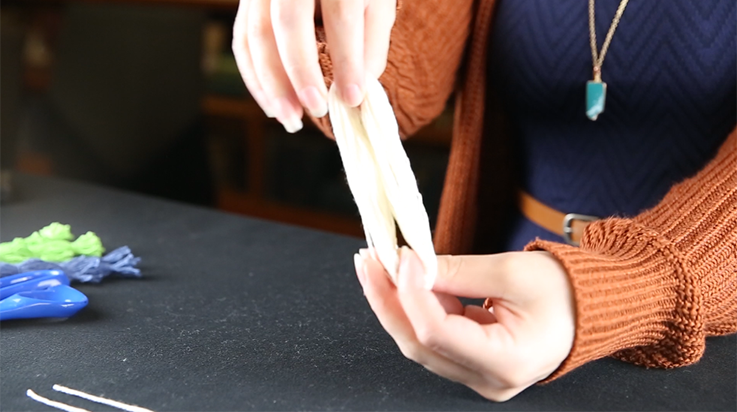
- Take one of the cut pieces of string and tie it near the top of the looped yarn. This will make the doll’s head.
Image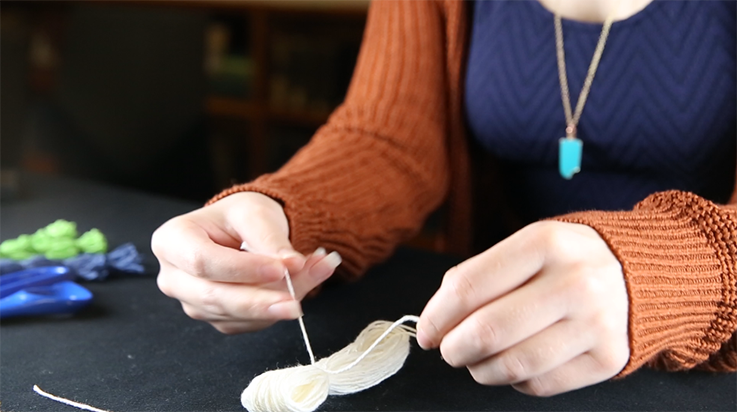 Image
Image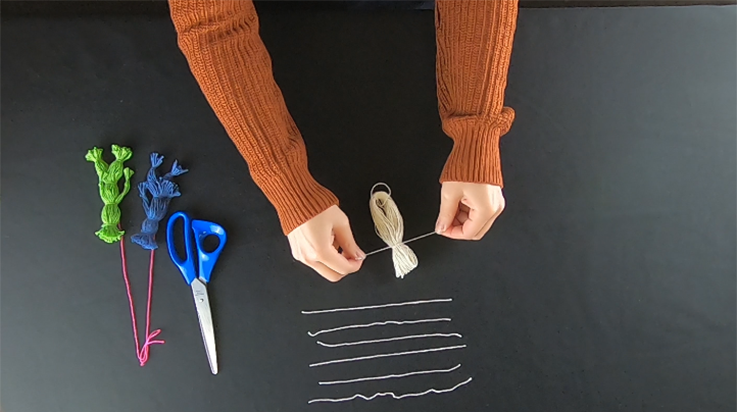
- Use one cut piece of yarn to tie very close to the top of the looped string; this forms the doll’s hair.
Image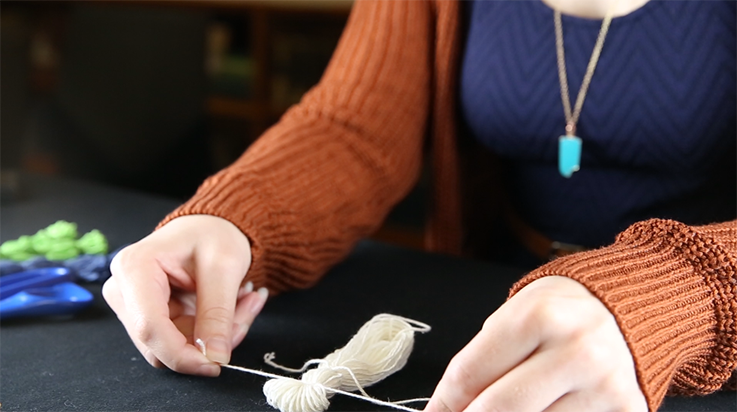 Image
Image
- Cut the top and bottom of the looped string to free the yarn – the doll has hair now!
Image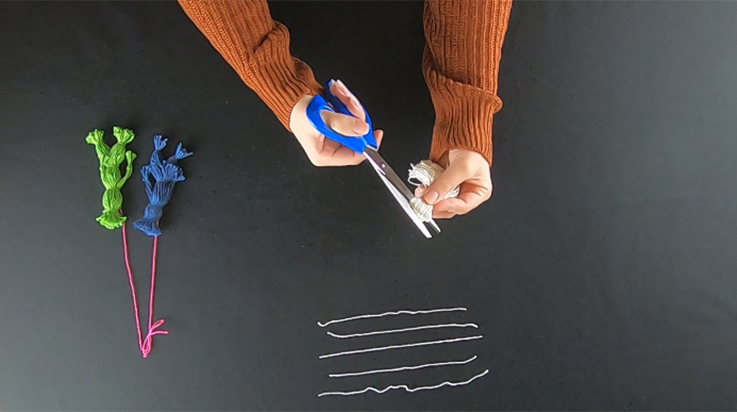 Image
Image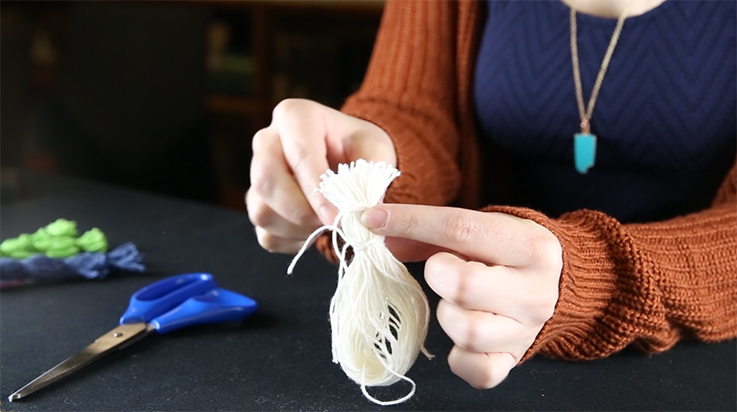 Image
Image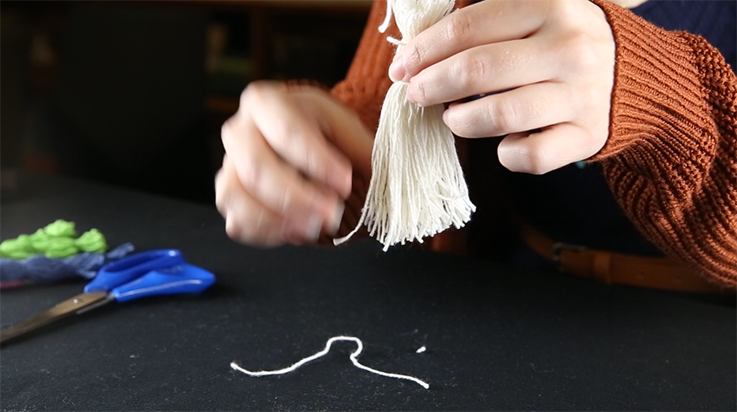
- Take a few strands of yarn and use one piece of cut string to tie them about halfway up. This will become one of the arms. Trim the extra length to give the doll short fingers.
Image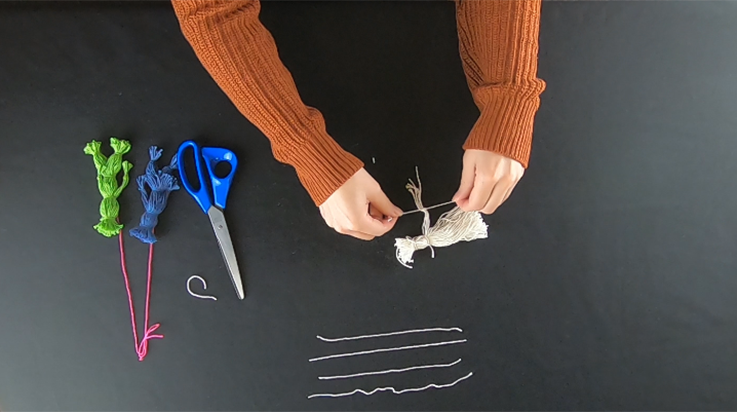
- Repeat the previous step for the other arm.
Image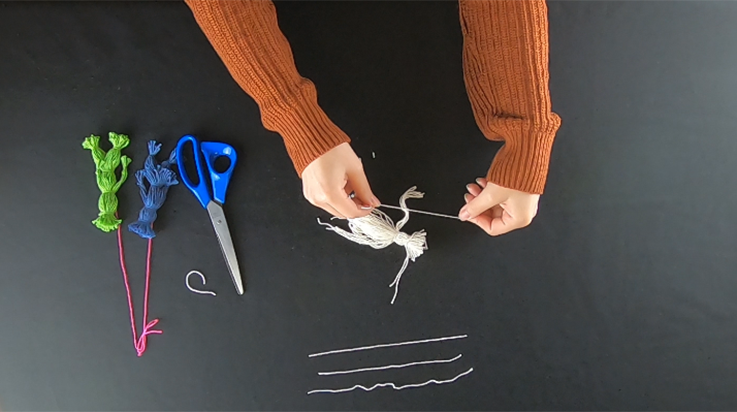
- Use one piece of cut yarn to tie the rest of the strands together about halfway down. This makes the doll’s body.
Image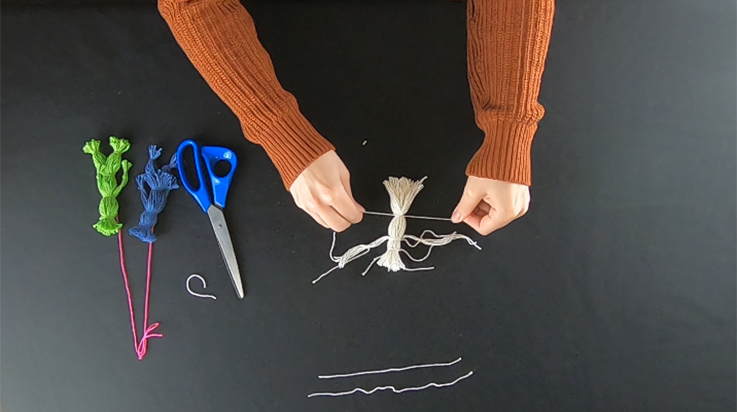
- For Rintintin: Separate the remaining strands below the newly added “belt” into two sections. Tie each of the two sections at the bottom to make pant legs. Trim all the ties.
Image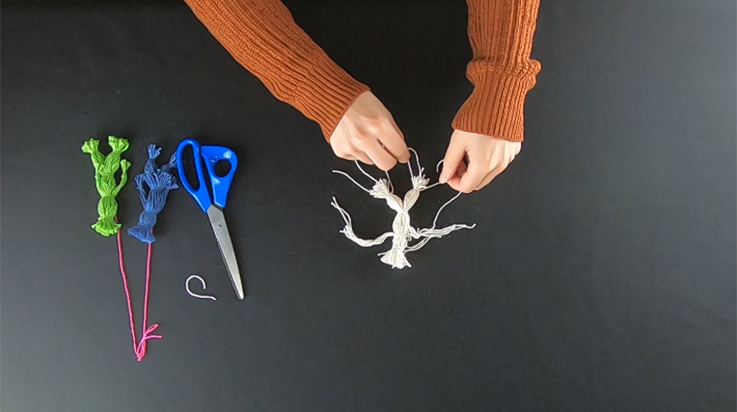 Image
Image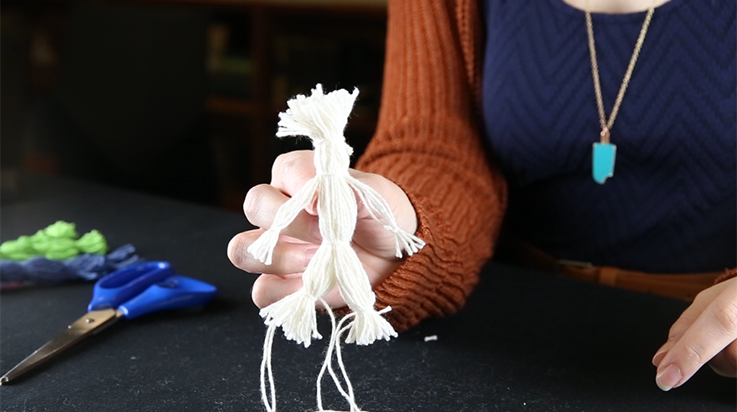
- For Nenette: Loosely tie the two leg sections, and then cut SOME of the yarn halfway between the belt and the ankle ties to create a skirt. Once cut, pull the excess strands out of the ankle ties, and finish tightly tying the two legs. Trim all the ties.
Image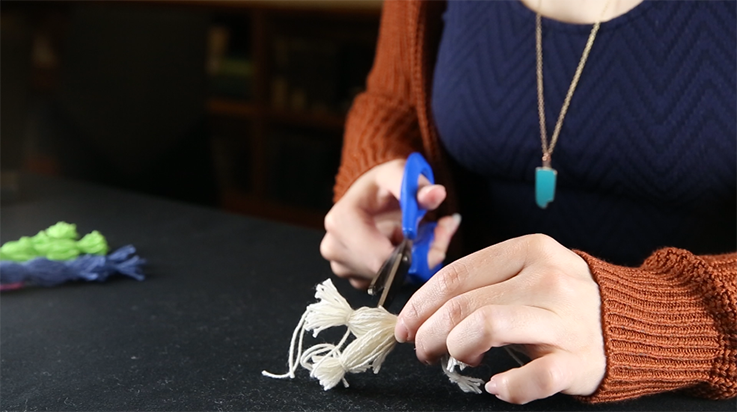 Image
Image
- OPTIONAL: To give your doll a face: Use thread, markers, glue, googly eyes or other materials to make a creative face!
- OPTIONAL: To add a carrying string cut a 4-inch piece of yarn of any color. Loop the string around a piece of yarn that is part of the head. Tie the 4-inch piece into a loop. Now, the doll can be attached to something, two dolls could be attached together with another piece of string, or it could even just be used as an easy way to carry the doll.
Image